The map view
Whichever way you searched, you land on a generated map showing your route (or search point) and every POI found, with a handful of controls layered on top of it, everything you need for planning in one place.
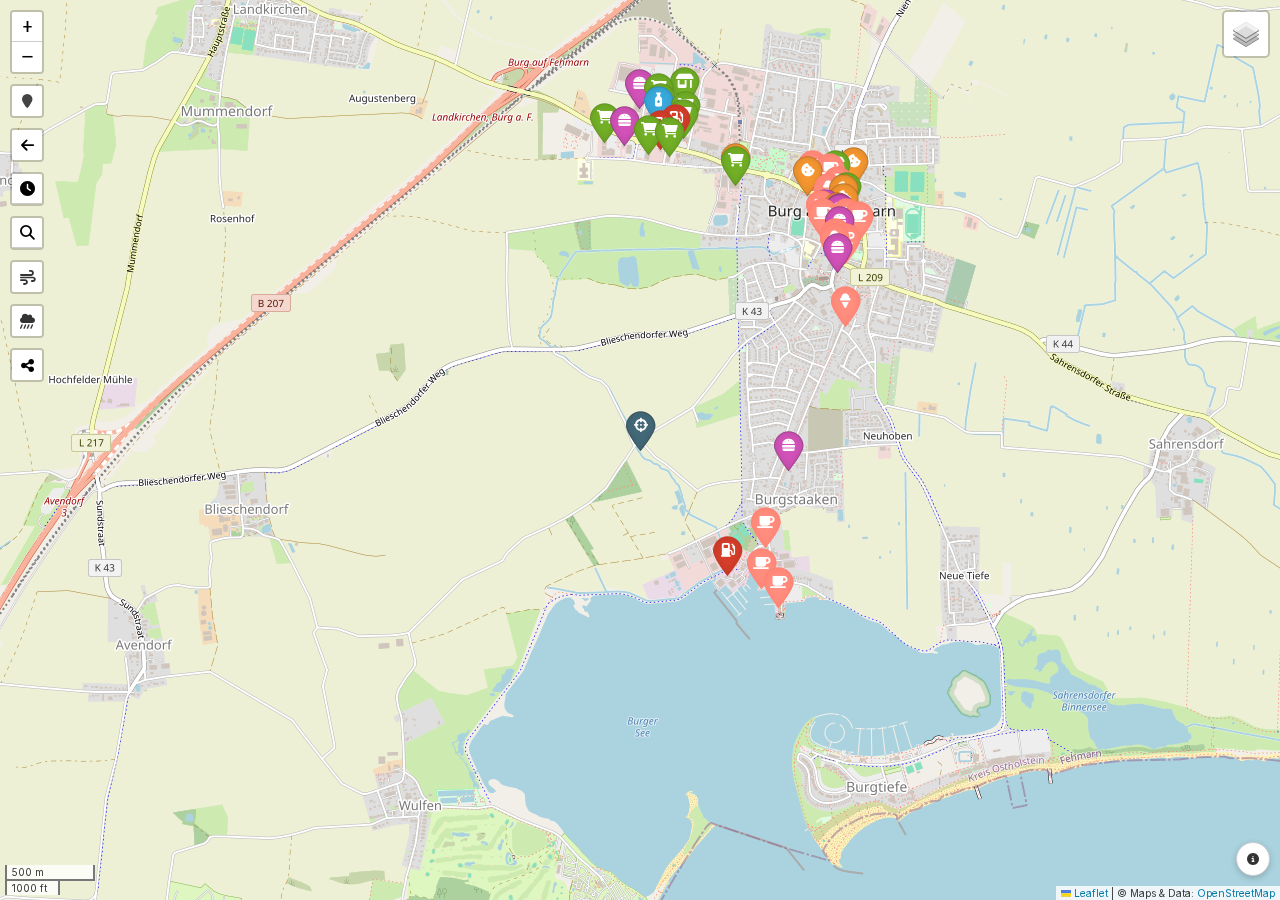
This section covers:
- POI markers & popups: what a marker looks like, what's in its popup, and how to pull up richer details
- Searching & filtering POIs: the search bar, the category legend, and the opening-hours filter
- Map layers & styles: switching base map styles and toggling what's visible
- Wind, elevation & rain radar overlays: live wind data, route gradient coloring, and the animated rain radar
- Favorites: starring POIs for your trip
- Sharing a map: QR code, link, and native share sheet
- Export & routebook: GPX, KML, and the printable routebook
A few smaller controls round out the top-left corner: a locate-me button centers the map on your current GPS position, and a home button (the arrow icon) takes you straight back to the OnRouteMap homepage. A distance scale sits in the bottom-left corner of the map itself.
Two more things worth knowing before you start clicking around: on a phone or tablet, POIs that are close together collapse into a single numbered cluster marker until you zoom in far enough to see them individually, which keeps busy areas readable; on a desktop browser, clustering is far more conservative, so you'll typically see individual markers even in dense areas. Favorites and imported GPX waypoints are the exception on any device; they're never clustered and stay visible at every zoom level. And along the route itself, you'll notice small kilometer markers spaced according to the route's length: every kilometer on a short route, thinning out to every 20 km on a very long one.